
Quick answer
Direct answer: Vinyl lettering is individually cut text, numbers, or logos made from solid-color vinyl. It’s the go-to for storefront hours, door logos, vehicle numbers, and clean “painted-on” style branding—without the paint.
Key takeaways
- Cut vinyl is perfect when you want a crisp, single-color look (no gradients or photo prints).
- Standard cut leaves only the letters/design; reverse cut keeps the surrounding vinyl for a bold “label” style.
- Transfer tape keeps spacing intact so installs go on straight and in one piece.
Choose your cut
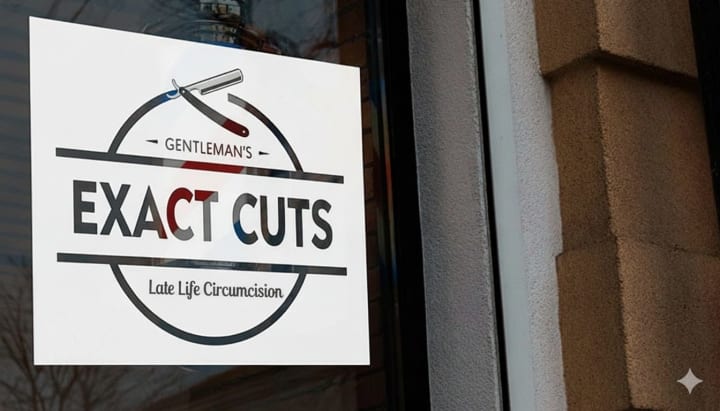
Standard Cut Vinyl
Only the letters/logo remain after weeding (no background). Great for window hours, door logos, and clean branding marks.
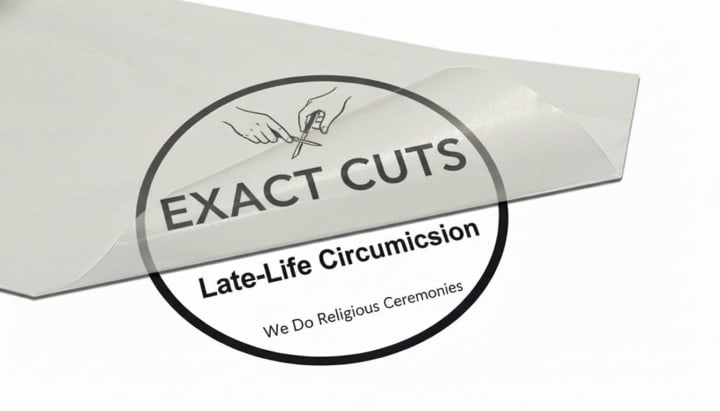
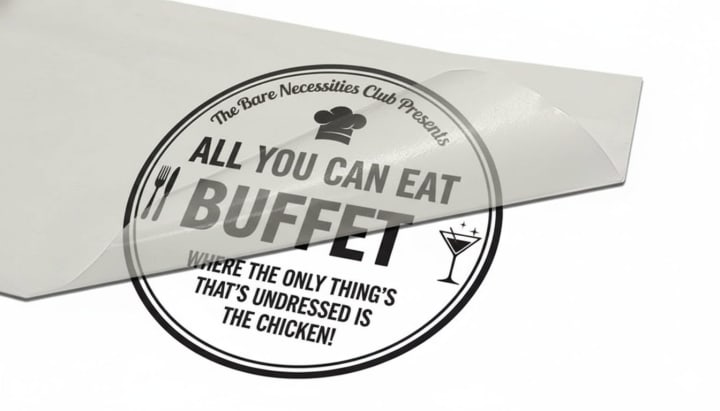
Reverse Cut (Negative Space)
We keep the surrounding vinyl and remove the interior cut pieces. Useful for badges, bold shapes, and high-contrast “label” style graphics.
Specs & options
Specs
- Product type
- Cut vinyl lettering / numbers / logos
- Material
- Durable polymeric vinyl (indoor/outdoor rated)
- Adhesive
- Permanent, pressure-sensitive adhesive
- Finish
- Matte (clean, glare-friendly look)
- Color
- Solid colors (single-color look; ask for availability)
- Delivery
- Weeded + transfer-tape masked for easier installation
Options
- Standard cut vs. reverse cut.
- Lettering-only, logo-only, or combined lockups.
- Pre-spaced lines (for hours / service lists).
- Installation add-on (Bay Area).
- Need full-color? See our printed decals for photo/gradient designs.
Need help preparing files? See Artwork Setup.
Good fit for
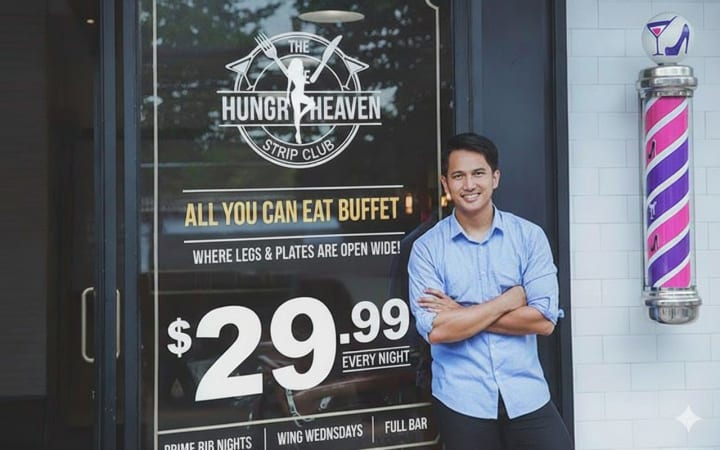
- Storefront windows — logos, hours, door numbers, “OPEN” and “WALK-INS WELCOME.”
- Vehicles — door lettering, DOT numbers, simple service lists.
- Interior walls — quotes, wayfinding, office names, room labels.
- Mirrors + glass — gym studios, salons, barbershops, cafés.
- Events — pop-up branding on panels, display cases, and counters.
How it works
-
1) Share your text + size
Send the wording, font preference (or “match my logo”), and approximate width/height. We’ll recommend stroke weights that weed clean.
-
2) Proof + spacing check
We confirm layout, kerning, and line breaks so it reads well on glass from the sidewalk or parking lot.
-
3) Cut + weed + mask
We cut the vinyl, remove the waste, and apply transfer tape so the design stays aligned during install.
-
4) Install or ship
Install it yourself with basic tools, or add Bay Area installation for a clean, bubble-free finish.
FAQ
What is vinyl lettering made from?
Vinyl lettering is cut from solid-color adhesive vinyl. It’s outdoor-durable and designed to stick cleanly to smooth surfaces like glass, painted metal, and finished plastics.
Can you do gradients, shadows, or photo images with vinyl lettering?
Cut vinyl lettering is a single-color, crisp look (no gradients or photo prints). If you need full-color graphics, choose printed decals instead.
What’s the difference between standard cut and reverse cut?
Standard cut leaves only the letters/logo (no background). Reverse cut keeps the surrounding vinyl and removes the interior pieces—useful when you want a bold badge or label style.
How do I install vinyl lettering?
Clean the surface, tape the graphic in place, peel the backing, squeegee from the center out, then remove transfer tape slowly at a sharp angle. We can also install for you in the Bay Area.
What file types work best?
Vector files (AI, EPS, PDF, SVG) are ideal. If you only have a PNG/JPG, we can usually recreate it as a cut-ready vector, depending on complexity.
Where does vinyl lettering work best?
Smooth, clean surfaces: glass, mirrors, painted metal, finished plastics, and sealed panels. Textured walls and dusty surfaces can reduce adhesion.