Tips for Creating Temporary Signs for Events and Promotions
A practical guide to creating impactful short-term signage that grabs attention, communicates clearly, and meets local Bay Area requirements.
Key takeaways
- Coroplast (corrugated plastic) lasts 1-2 years outdoors and is the most cost-effective choice for temporary event signs
- Use the 1-inch-per-10-feet rule: for every 10 feet of viewing distance, increase letter height by 1 inch
- High-contrast color combinations (black on yellow, white on red) maximize visibility from a distance
- Always check local Bay Area permit requirements before placing outdoor signage
- Plan placement at eye level in high-traffic areas like entrances and intersections
Temporary signs are the workhorses of event marketing. Whether you are promoting a grand opening in San Jose, directing attendees at a trade show in San Francisco, or announcing a pop-up shop in Oakland, the right signage can make or break your event's success. These short-term visual tools attract attention, communicate messages quickly, and guide visitors—all without the permanence (or cost) of fixed installations.
This guide covers everything Bay Area event planners and business owners need to know about creating temporary signs that actually work: from choosing the right materials to designing for maximum visibility to navigating local regulations.
What makes temporary signage different from permanent signs?
Temporary signs are designed for short-term use—anywhere from a single day to a few months. This changes everything about how you approach materials, installation, and design. You are optimizing for speed, cost-effectiveness, and flexibility rather than decades of durability.
The most common applications include:
- Trade shows and conventions: Booth identification, directional wayfinding, promotional messaging
- Pop-up shops and grand openings: Storefront banners, window graphics, sidewalk signs
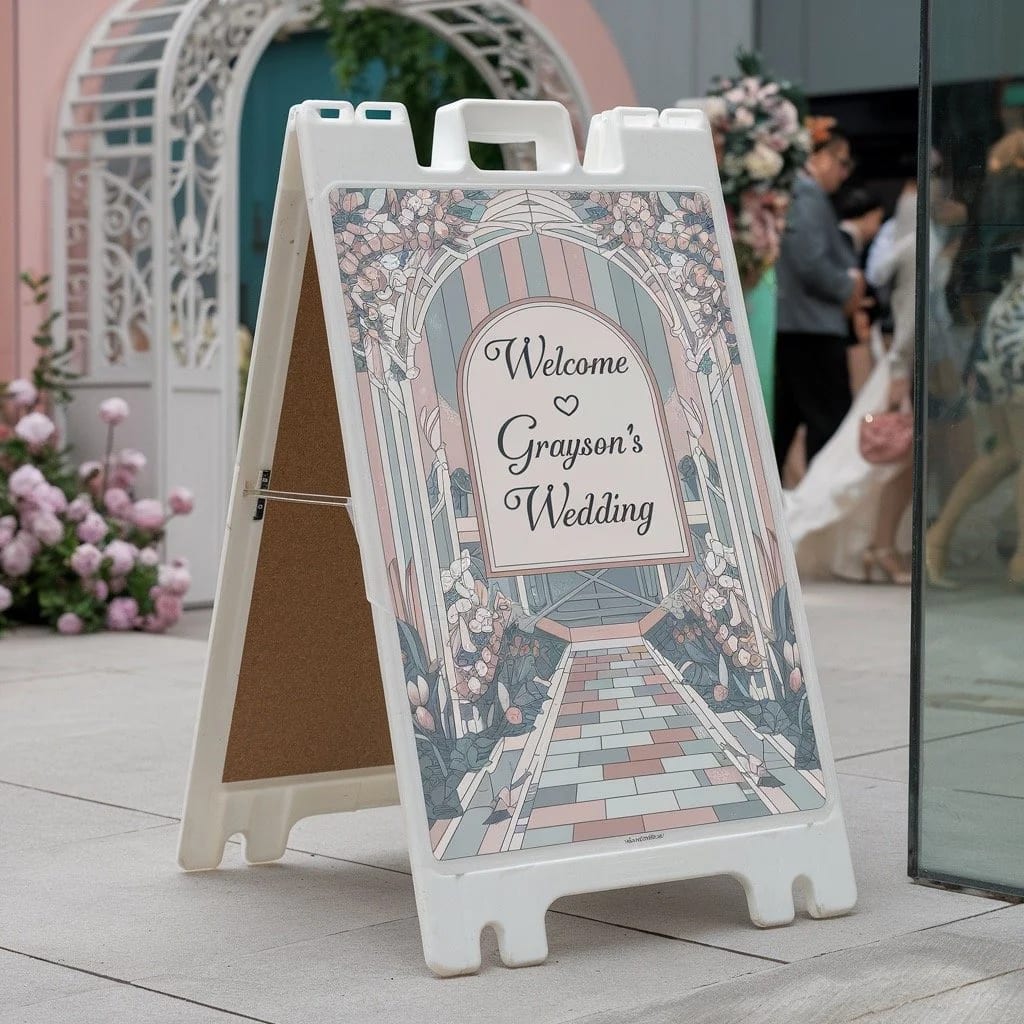
- Special events: Wedding signage, festival wayfinding, concert promotions
- Real estate and construction: Coming soon signs, open house announcements
- Seasonal promotions: Holiday sales, clearance events, limited-time offers
Which materials work best for temporary outdoor signs?
Material selection depends on where your sign will live and how long it needs to last. Here are the options ranked by durability and cost:
Coroplast (corrugated plastic)—the industry standard
Coroplast is a staple in the sign industry for good reason. This lightweight, corrugated plastic material is waterproof, weather-resistant, and can last 1-2 years outdoors depending on conditions. It is the go-to choice for yard signs, event directionals, and A-frame signs.
Best for: Outdoor events, real estate signs, political campaigns, trade show signage
Vinyl banners—durable and reusable
For grand opening announcements and large-format messaging, vinyl banners deliver excellent weather resistance and can be rolled up for storage and reuse. Standard 13-ounce vinyl works well for most applications, while mesh banners allow wind to pass through—ideal for fencing and exposed outdoor locations.
Best for: Building wraps, fence banners, overhead displays, repeated events
Foam board—indoor only
Foam board is lightweight and inexpensive, making it popular for indoor presentations and trade show displays. However, it warps in humidity and deteriorates quickly outdoors. Keep it inside.
Best for: Indoor events, presentations, point-of-purchase displays
PVC board—the heavy-duty option
For temporary signs that need to look more substantial, PVC board offers a smooth, rigid surface that prints beautifully. It handles outdoor conditions well and can be cut to custom shapes.
Best for: Directional signage, mounted displays, signs requiring a premium look
How do you design temporary signs for maximum visibility?
Even the best materials cannot save a poorly designed sign. Follow these principles to ensure your message gets seen and understood:
Letter size: the 1-inch-per-10-feet rule
The single most important factor in sign readability is letter height. According to industry standards, for every 10 feet of viewing distance, you need to increase letter height by 1 inch. A sign meant to be read from 100 feet away needs 10-inch letters minimum.
For roadside or fast-moving traffic, go larger. Drivers have only seconds to process your message.
Color contrast: light on dark or dark on light
High-contrast color combinations dramatically improve readability. The most visible pairings include:
- Black text on yellow background (highest visibility)
- White text on dark blue or black
- Red text on white background
- Dark green on white
Avoid low-contrast combinations like light blue on white or yellow on white—they disappear at distance, especially in bright sunlight.
Font selection: legibility over style
Sans-serif fonts like Arial, Helvetica, and Futura remain readable at distance and work well for outdoor signage. Save decorative and script fonts for close-range applications like table signage or invitations—they become illegible beyond a few feet.
Message hierarchy: one clear call-to-action
Temporary signs work best when they communicate a single idea quickly. Lead with your most important message (event name, sale percentage, directional arrow) in the largest type, then support with secondary details in smaller text below.
Where should you place temporary signs for maximum impact?
Strategic placement multiplies your sign's effectiveness. Consider these factors:
High-traffic locations
Position signs at entrances, intersections, and natural gathering points. For wayfinding, place directional signs at every decision point where attendees might get confused.
Eye-level placement
Signs placed at eye level (roughly 4-6 feet from ground) capture attention most effectively. Signs placed too high get missed; signs too low get blocked by crowds or obstacles.
Angle and orientation
Signs perpendicular to pedestrian or vehicle flow are easier to read than those placed parallel to traffic. For roadside placement, angle signs toward oncoming traffic rather than parallel to the road.
Lighting considerations
Outdoor signs in direct sunlight may need different color choices than those in shaded areas. Dark backgrounds with light text work better in bright conditions; light backgrounds with dark text show up better in shade or at night (when supplemented with lighting).
What are the legal requirements for temporary signs in the Bay Area?
Every Bay Area municipality has regulations governing temporary signage. Ignoring them can result in fines or removal of your signs. Common requirements include:
- Permits: Most cities require permits for signs on public property or rights-of-way
- Size limits: Maximum sign dimensions vary by zone and sign type
- Duration limits: Many jurisdictions cap how long temporary signs can remain
- Setback requirements: Signs often must maintain minimum distances from roads
- ADA compliance: Signage must not obstruct accessible pathways
Contact your local planning department—whether in San Francisco, Oakland, San Jose, or elsewhere in the Bay Area—before installing outdoor signage to verify requirements.
How do you install temporary signs safely and effectively?
Installation method depends on your sign type and location:
Lightweight, non-permanent methods
- Wire stakes: The standard for yard signs and directional coroplast
- Easels and stands: Portable options for sidewalk and indoor placement
- Velcro strips and adhesive hooks: Easy on, easy off for wall mounting
- Grommets with zip ties: Secure banners to fences or structures
Weather considerations
For outdoor events, secure signs against wind. Add sandbags or water weights to A-frame bases. Use mesh banners rather than solid vinyl in windy locations. Schedule professional installation for large or elevated signs.
Safety first
Never place signs where they obstruct sightlines for drivers or pedestrians. Avoid creating trip hazards with sign bases or stakes. Ensure hanging signs are secured against falling.
How can you measure temporary signage effectiveness?
Track sign performance to improve future events:
- QR codes: Add scannable codes linking to event registration, menus, or landing pages
- Unique URLs: Create sign-specific web addresses to track traffic sources
- Promo codes: Include sign-specific discount codes to measure conversion
- Attendee surveys: Ask how people found your event or location
This data helps justify signage investment and guides placement decisions for future events.
What are common mistakes to avoid?
Learn from these frequent temporary signage errors:
- Too much text: Signs are not brochures—edit ruthlessly
- Wrong material for conditions: Foam board outdoors dissolves in the first rain
- Skipping permits: Fines and forced removal waste more than permit fees
- Poor placement: A great sign in the wrong spot is invisible
- Ignoring viewing distance: Tiny text on a roadside sign helps no one
Ready to create temporary signage that works?
Effective temporary signs combine the right materials, smart design, strategic placement, and compliance with local requirements. Whether you need directional signage for a corporate event in San Francisco or promotional banners for a grand opening in San Jose, the principles remain the same: clear messaging, high visibility, and appropriate durability for your timeline.
Need help creating custom temporary signage for your Bay Area event? Start your project with SF Bay Signs and get expert guidance on materials, design, and installation that fits your budget and timeline.