Mastering Glass Etching: Your Go-To Guide for Stunning Glass Signs
From elegant corporate lobby signs to custom home décor, glass etching transforms ordinary glass into sophisticated visual statements. Learn which technique delivers the results you need.
Key takeaways
- Chemical etching is the safest and most accessible method for beginners—ideal for small DIY projects.
- Sandblasting produces the cleanest, deepest etch and is preferred for commercial signage applications.
- Laser etching offers the highest precision for intricate designs but creates surface-level marks only.
- Glass etching is permanent—always test your design on scrap material before committing.
- Clear, frosted, and tinted glass work best; avoid thin or flawed glass that may crack during etching.
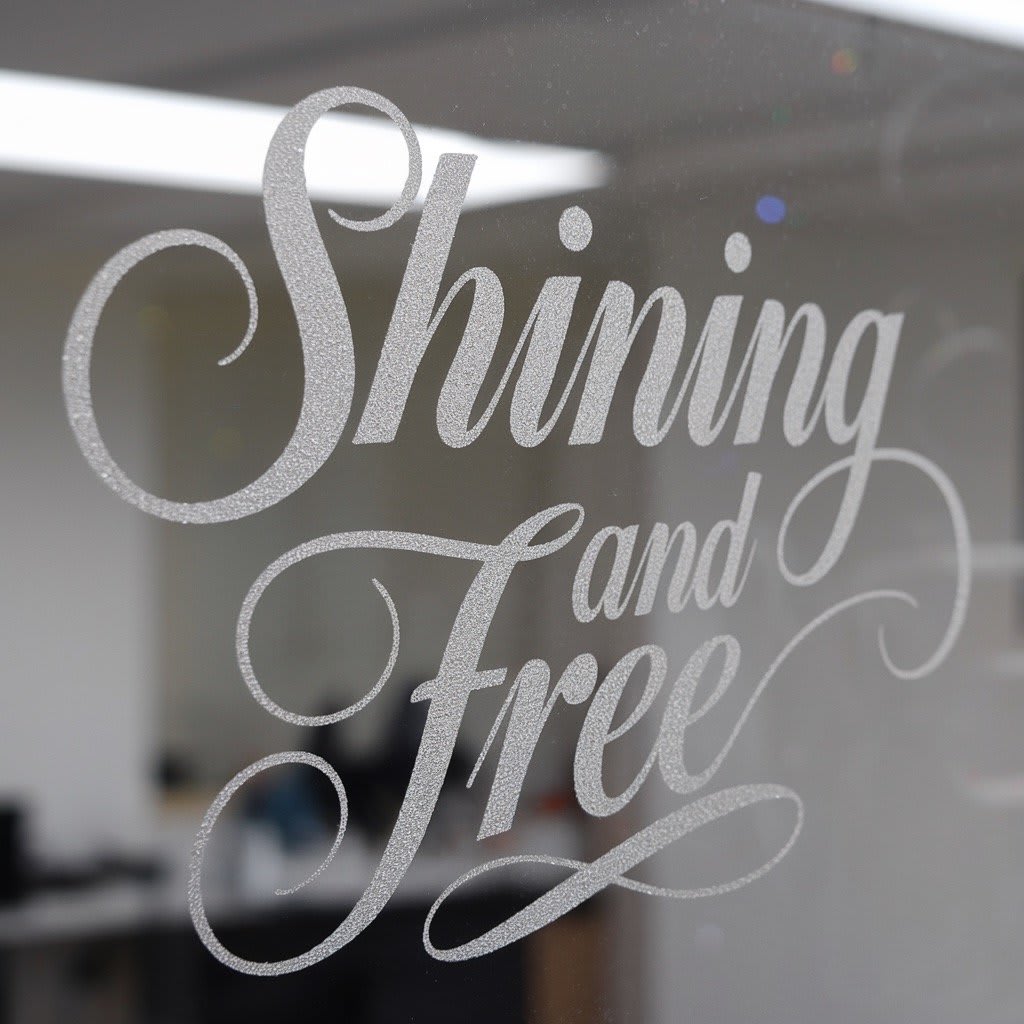
Glass signs communicate sophistication and permanence in ways that other signage materials simply cannot match. The frosted, textured finish created through etching transforms ordinary glass into elegant displays for corporate lobbies, storefronts, restaurants, and homes across the Bay Area and beyond.
This guide covers everything you need to know about glass etching—from choosing the right technique for your project to executing flawless results. Whether you are a DIY enthusiast working on a personal project or a business owner evaluating professional sign options, understanding these methods will help you achieve the results you are looking for.
What is glass etching and how does it work?
Glass etching creates patterns, designs, or textures by removing a thin layer from the glass surface. This removal creates a frosted or matte appearance that contrasts with the surrounding clear glass, making logos, text, and decorative elements stand out.
Three primary methods dominate the industry: chemical etching, abrasive etching (sandblasting), and laser etching. Each produces distinct results and suits different applications, budgets, and skill levels.
Which glass etching technique should you choose?
The right method depends on your project scope, desired finish, available equipment, and budget. Here is how each approach compares:
Chemical etching: best for DIY and small projects
Chemical etching uses acid-based cream to erode the glass surface. It is the most accessible method for beginners because it requires minimal equipment and produces consistent results on small-scale projects.
Materials needed:
- Etching cream (safer alternatives to hydrofluoric acid are widely available)
- Stencils or masking tape
- Protective gloves and safety glasses
- Brushes or applicators
Advantages: Simple setup, low cost, ideal for detailed designs on small items like glassware, picture frames, or decorative panels.
Limitations: Surface-level etching only; requires careful chemical handling; not practical for large commercial signs.
Sandblasting: best for commercial signage
Abrasive etching—commonly called sandblasting—propels high-pressure abrasive particles (sand, glass beads, or aluminum oxide) against the glass surface. This method allows for deep etching and varied textures, making it the preferred choice for professional sign shops and commercial applications.
Materials needed:
- Sandblasting unit
- Abrasive material (aluminum oxide grit is common)
- Air compressor (90-100 psi)
- Protective gear (goggles, mask, gloves)
- Stencils or masking film
- Sandblasting cabinet
Advantages: Produces the cleanest, most professional results; allows deep carving and 3D effects; handles large architectural glass panels.
Limitations: Requires specialized equipment; messy process needing controlled environment; higher skill barrier.
Laser etching: best for intricate precision work
Laser etching uses a focused laser beam to precisely remove material from the glass surface. It excels at reproducing complex designs, fine text, and photographic images with exceptional accuracy.
Materials needed:
- Laser etching machine (CO2 lasers are common)
- Computer with design software
- Protective eyewear
Advantages: Highest precision for detailed artwork; no physical contact minimizes breakage risk; computer-controlled repeatability; significantly faster production time—one laser can etch 10 pieces in the time sandblasting takes for one.
Limitations: Surface-level etching only (creates frosted appearance through microfractures); high equipment cost; some glass compositions with metal content may produce inconsistent results.
How do you prepare glass for etching?
Proper preparation directly impacts your finished results. Skipping steps here leads to uneven etching, stencil bleeding, and wasted materials.
Selecting the right glass
Choose glass that is smooth, free of imperfections, and appropriately thick for your application. Clear, frosted, and tinted glass work best. Tempered glass can be etched but requires special care due to internal stresses.
Avoid: Thin glass prone to cracking, glass with visible flaws or bubbles, and coated glass unless you are certain the coating is compatible with your etching method.
Designing your pattern
Whether using a physical stencil for chemical or abrasive etching, or a digital file for laser work, ensure your design is well-defined. Simpler designs with clear edges produce better results for beginners. Complex designs with fine details may require advanced techniques or professional execution.
If you need help translating your logo or concept into an etchable design, our team at SF Bay Signs can assist—reach out to discuss your project.
Safety precautions
Glass etching involves hazards regardless of method. Chemical etching creams can cause burns. Sandblasting creates airborne particles. Laser systems require proper ventilation and eye protection.
Always wear appropriate protective gear, work in well-ventilated areas, and follow manufacturer safety guidelines precisely.
How do you etch glass step by step?
Here is a detailed walkthrough using chemical etching—the most accessible method for home and small business projects:
- Clean the glass thoroughly. Use glass cleaner and a lint-free cloth to remove all dirt, dust, oils, and fingerprints. Any residue will affect etching quality.
- Position your stencil. Apply the stencil to the glass, ensuring correct alignment. Press down firmly from the center outward to eliminate air bubbles—trapped air causes uneven etching.
- Apply etching cream generously. Using a brush, cover all exposed areas with a thick, even layer. The cream must fully contact the glass to etch properly. Avoid skin contact.
- Time the process carefully. Leave the cream in place according to manufacturer instructions—typically 5-15 minutes. Longer exposure increases etch depth, but do not exceed recommended times.
- Rinse with cold water. Thoroughly wash away all etching cream. Remove the stencil carefully.
- Inspect and repeat if needed. Check for even coverage and design clarity. Light or incomplete areas can be re-etched by reapplying the stencil and cream.
What advanced glass etching techniques exist?
Once you master basic etching, several advanced methods can elevate your work:
Multi-layer etching creates 3D effects by etching at different depths. This requires precise stencil registration and multiple passes, but produces stunning dimensional results.
Combining etching with painting adds color to etched designs. After etching, apply glass-specific paint to the frosted areas for vibrant, textured artwork.
Deep carving removes significant glass material to create sculpted, high-relief designs. This technique requires professional-grade sandblasting equipment and is common in high-end architectural signage.
How do you maintain etched glass signs?
Etched glass is durable but benefits from proper care:
- Clean regularly with non-abrasive glass cleaner and soft cloths. Avoid harsh chemicals or scrubbing pads that could damage the etched surface.
- Apply glass sealant for outdoor installations to protect against weather, dirt accumulation, and UV exposure.
- Handle carefully during cleaning—etched areas can be more fragile than untreated glass.
What can you create with etched glass?
Etched glass signs serve countless applications across Bay Area businesses and homes:
- Business signage: Lobby logos, reception area displays, conference room identification, and storefront windows
- Home décor: Address signs, nameplates, decorative panels, and custom mirrors
- Event signage: Wedding welcome signs, table numbers, and directional displays
- Personalized gifts: Custom glass frames, ornaments, and commemorative plaques
For complex commercial projects or when you want professional results without the DIY learning curve, start a project with SF Bay Signs. We handle everything from design consultation through professional installation across San Francisco, Oakland, San Jose, and the entire Bay Area.
Troubleshooting common glass etching problems
Uneven etching: Usually caused by inconsistent cream application or air bubbles under the stencil. Ensure thorough coverage and press stencils down firmly.
Stencil bleeding: Occurs when etching cream seeps under stencil edges, creating blurry lines. Use high-quality stencil material and ensure complete adhesion before applying cream.
Glass damage: Cracking or chipping typically results from excessive sandblasting pressure, flawed glass, or temperature changes during processing. Always inspect glass before etching and handle gently throughout.
Ready to create your etched glass sign?
Glass etching transforms ordinary glass into elegant, permanent displays that elevate any space. Whether you tackle a DIY project using chemical etching or invest in professional sandblasted signage for your business, understanding these techniques helps you achieve the sophisticated results etched glass is known for.
For Bay Area businesses seeking professional etched glass signs, SF Bay Signs delivers expert design, fabrication, and installation. Start your project today and let our team bring your vision to life.